


Introduction
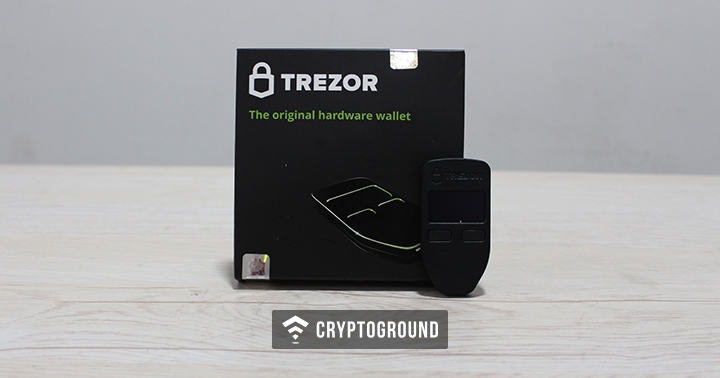
Trezor is the first Bitcoin Hardware wallet. It was introduced back in 2014 by SatoshiLabs. It is one of the most secure hardware wallets with a capability to store cryptocurrency funds in offline cold storage as well as make instant transactions like a hot wallet.
Storing cryptocurrencies offline is particularly useful if you hold a significant amount of funds and are looking for a secure means to protect them from hacks. Keeping your funds on an exchange or mobile wallets can really be a risky deal. On the other hand, storing them on paper wallets may introduce new hazards for the beginners. Hardware wallets are thus more popular among the cryptocurrency expert investors as it resolves all such problems.
Trezor - The Company (SatoshiLabs)
As mentioned earlier, Trezor is the product of SatoshiLabs. The company is based outside the US, in the Czech Republic. They also have another product called coinmap in their portfolio which provides a feature to discover places adopting bitcoins around the globe on a world map. As for the hardware wallets, SatoshiLabs currently has two models - Trezor ONE and Trezor T. Trezor T is the updated version and supports more number of coins. However, in this guide, I'll take you through Trezor ONE as it is more popular among the peers.
Unbox Trezor Wallet
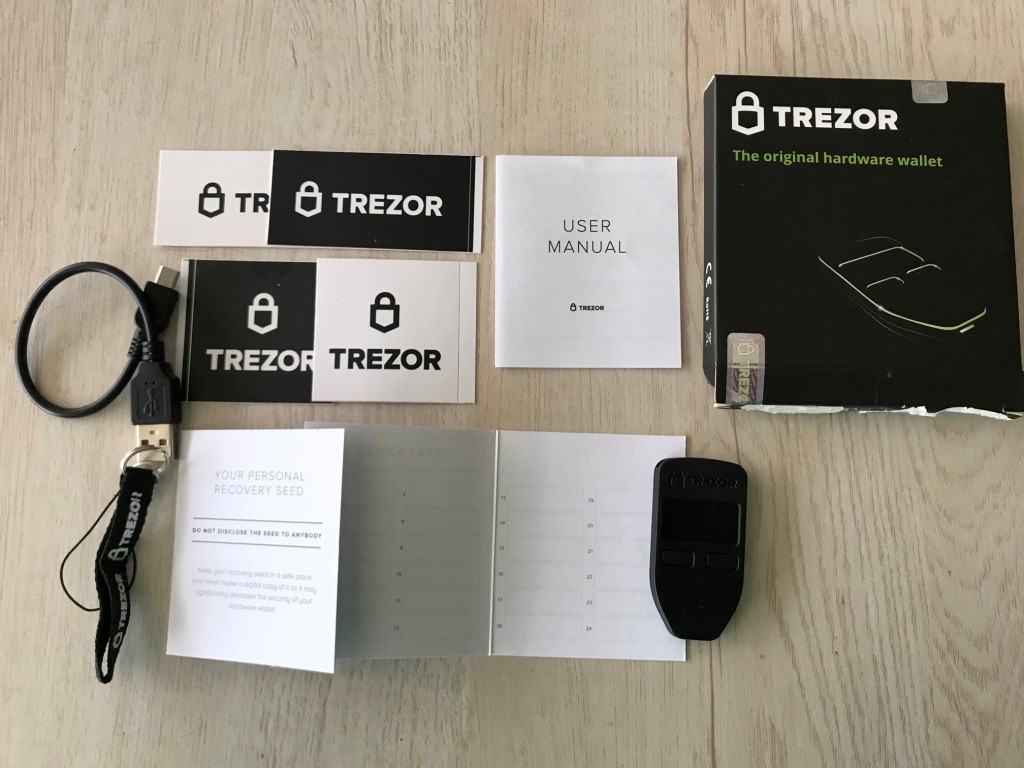
What's in the Box?
-
Trezor device
-
Micro USB cable
-
2 Recovery seed booklets
-
User Manual
-
Strap
-
4 Trezor Stickers
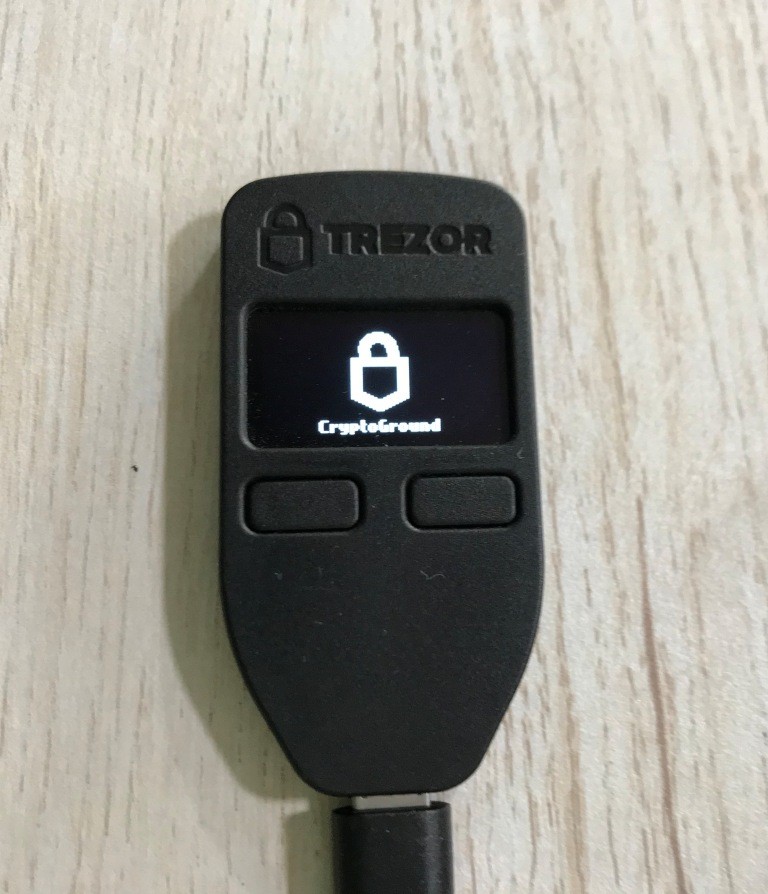
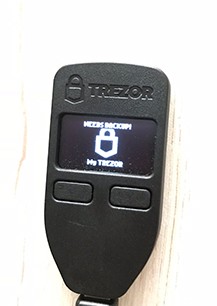
Device Appearance
Trezor devices are made of plastic. This probably is the only downside of Trezor as compared to Ledger Nano S which has a stainless-steel jacket and a stylish look. However, this doesn't make trezor any less secure.
Trezor Hardware Wallet device also has two physical buttons and a screen which are immensely useful while setting up the equipment and performing transactions. The device also has a USB port to connect the device to a computer via USB pin. Overall, the device looks similar to a car key.
Trezor Compatibility
Trezor is compatible with any modern-day computer system:
-
OS: Windows 7-10, Mac 10.11 + and Linux
-
Software Wallets: Trezor Wallet, Mycelium, Electrum, Copay, MyEtherWallet, etc
Why is Trezor Secure?
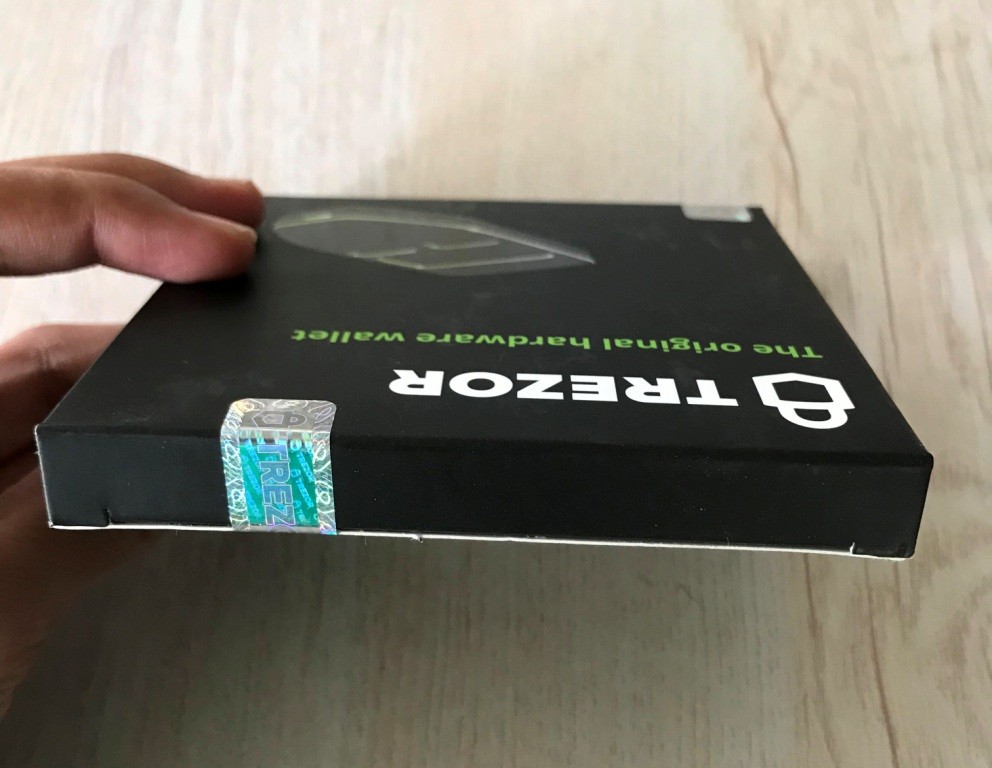
Anti-Tampering Seal
The wallet device is packaged with a tamper-proof tape. This seal on the device package can be used to verify that no mediator has tampered with the wallet while it was shipped.
Physical Buttons
Trezor hardware wallet has two physical buttons which work as 2FA to secure the transactions. No one can touch your funds even if somebody gets access to your wallet seeds and other details, as physical device is required to confirm the transactions.
PIN Code
A PIN pattern is generated on trezor wallet device through which PIN is to be entered on the trezor UI on the computer. The PIN is used both during setup and payment. The wait time between two consecutive PIN entries is recursive in nature. Meaning, on each incorrect PIN input, the wait elapsed time until you can input the next set of the PIN is increased by a power of two each time. So be careful while you enter the PIN as making 30 wrong PIN continuously, would take over 30 years!
Offline Storage and Passphrase
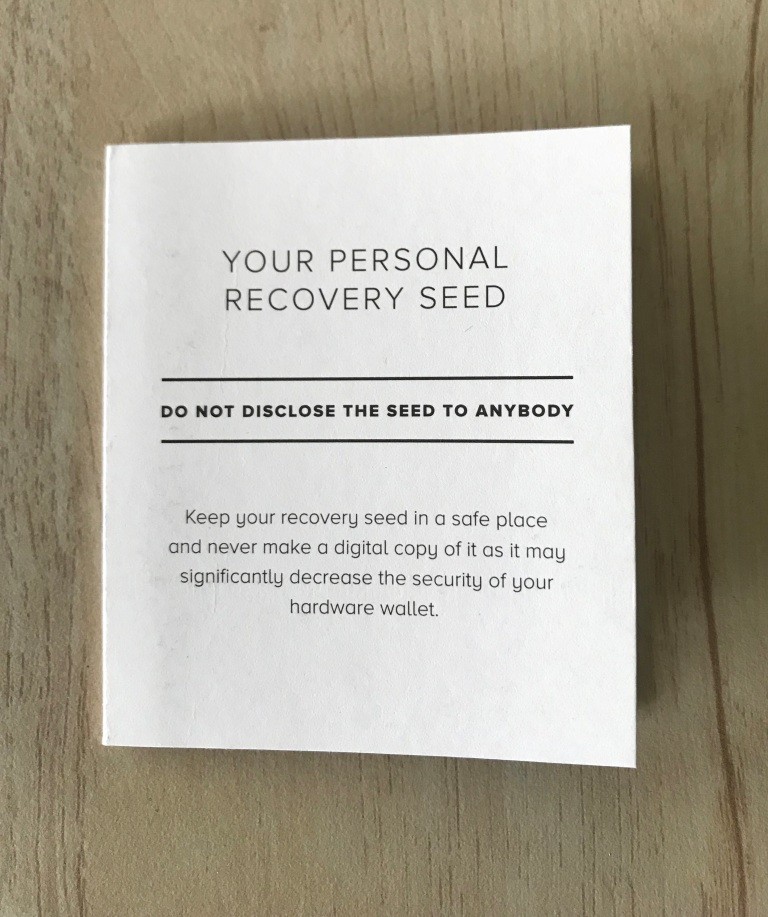
Like other hardware wallets, trezor stores private keys offline. These keys can be accessed with the help of 24-word seed phrase. Trezor also has an extra security feature in the form of a passphrase which acts as 25th seed phrase. However, note that the wallet would be vulnerable if you somehow forget the passphrase, without it, the seed is incomplete.
The device arrives with two sets of recovery phrase sheets. They are to be used to note the 24-word seeds. It is important to store these phrases on a piece of paper rather than on some system or phone to keep them away from the reach of online hackers.
Supported Currencies
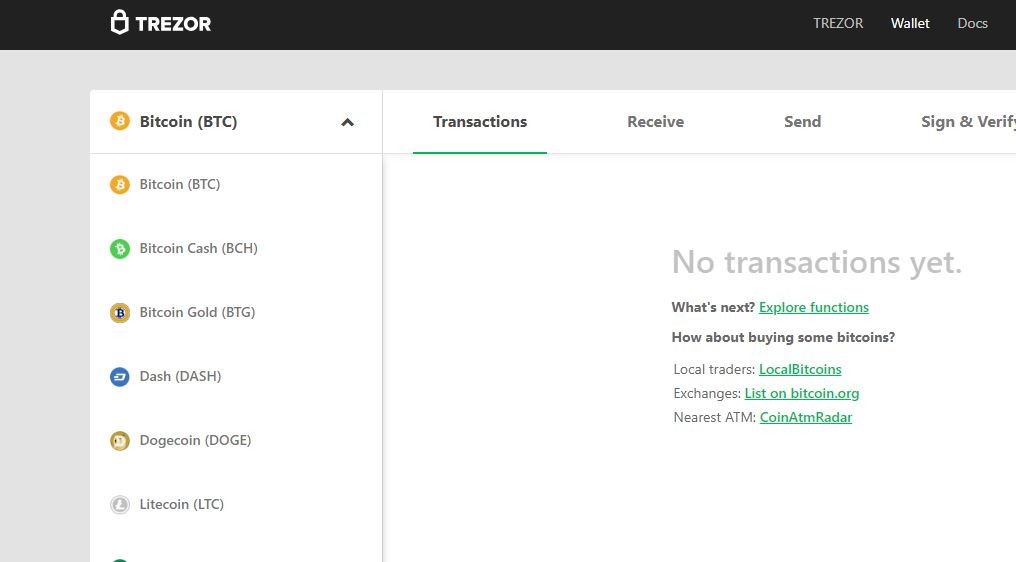
Trezor supports most of the popular cryptocurrencies like Bitcoin, Bitcoin Cash, Litecoin, DASH, etc. However, it has some limitations over the number of coins it supports directly through the wallet. Here's complete list:
-
Bitcoin (BTC)
-
Bitcoin Cash (BCH)
-
Bitcoin Gold (BTG)
-
Dash (DASH)
-
Dogecoin (DOGE)
-
Litecoin (LTC)
-
Vertcoin (VTC)
-
Zcash (ZEC)
-
Ethereum (ETH)
-
Ethereum Classic (ETC)
-
NEM (XEM)
Trezor Price
Trezor is available for 89€ (excluding VAT) on their official website. However, you can get a discount of 22€ for a pack of 3 devices from there.
Where Can I Buy Trezor device?
While we would suggest you to buy the device from their official website. However, make sure NEVER to purchase hardware wallets from eBay as they have been reports of hacks previously.
Setup Trezor Wallet
Configuring the trezor wallet is pretty simple. Since Trezor wallet does not run on battery, we'll have to plug-in the device to the computer system. You can use the USB cable for the same.
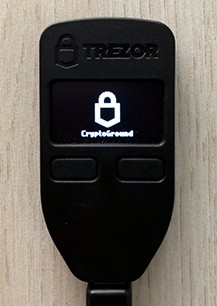
-
Once connected, the wallet will boot up with the trezor logo on screen.
-
Next, goto the trezor start page and install TREZOR Bridge. You can also install the TREZOR Chrome extension. Both work equally well.
-
You may be then prompted to install a firmware. Click on Yes, Install button to install the firmware. Once installed, you'll have to reboot the device. So unplug the USB Cable and plug it back.

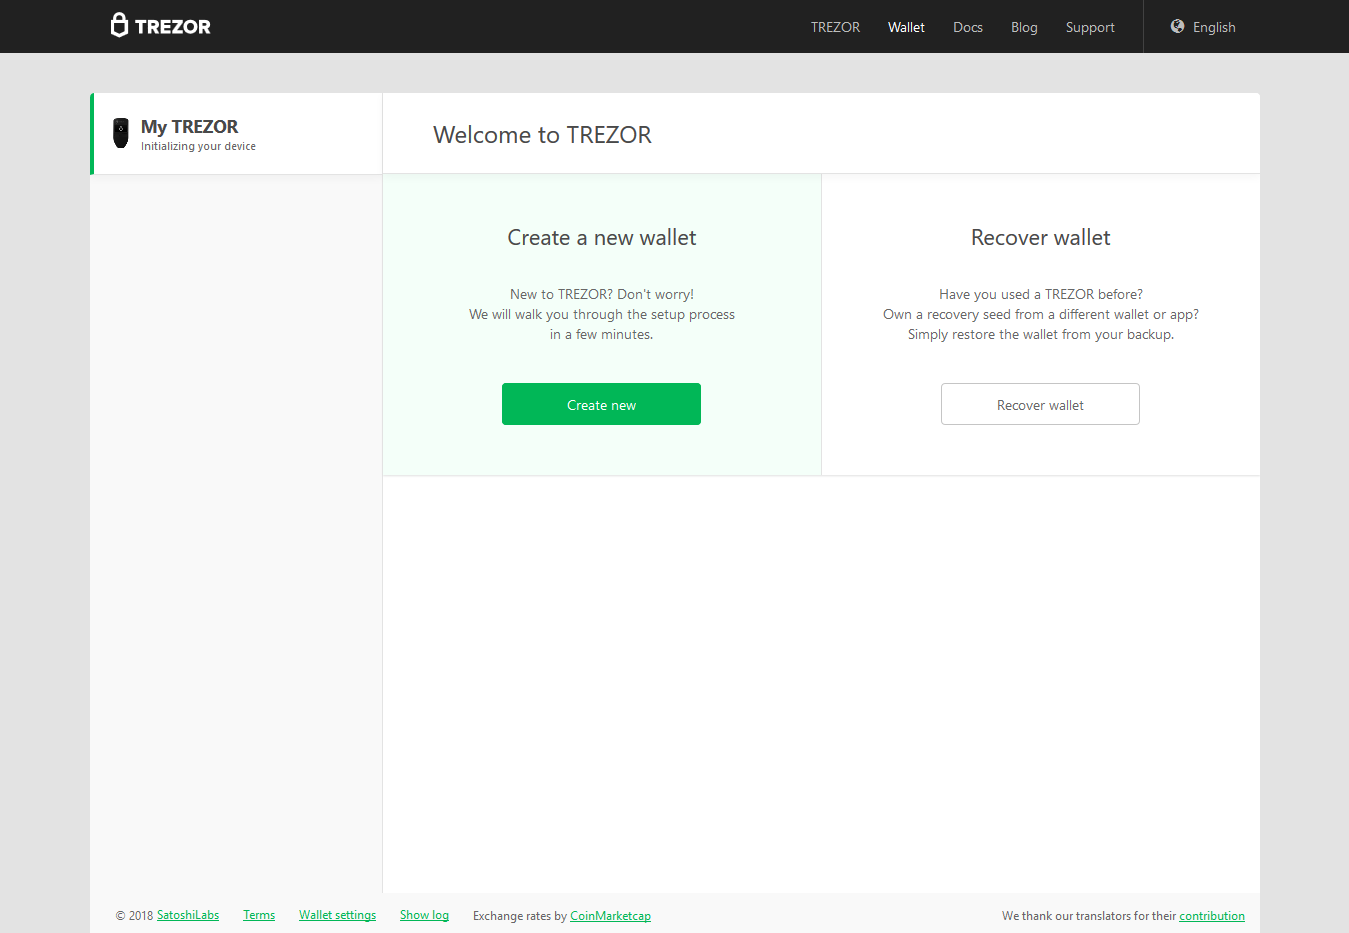
-
This time around, you'll see a TREZOR welcome page. You'll be presented with two options: Create a new Wallet and Recover Wallet. We'll go with the fist one, so click on Create new.
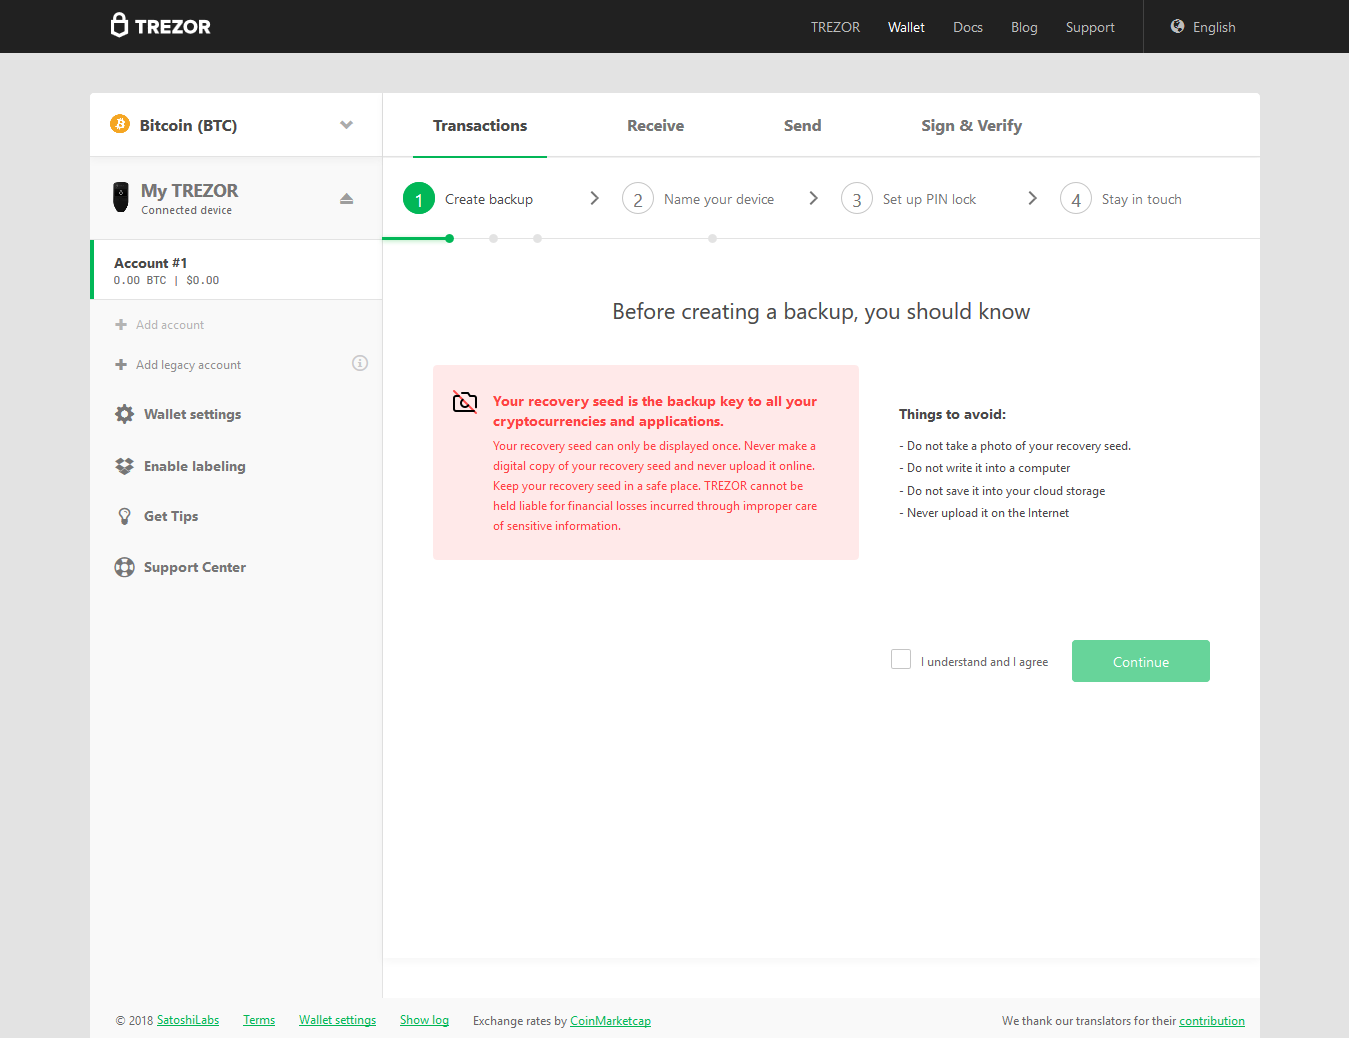
-
Next, you'll see a backup screen. Read the 'Things to avoid' section carefully and select the I understand and I agree checkbox to Continue.
-
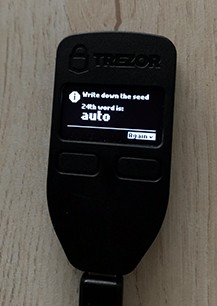
The first important step. You'll be asked to note down the recovery phrase. It is basically a collection of 24 words used for security purpose.
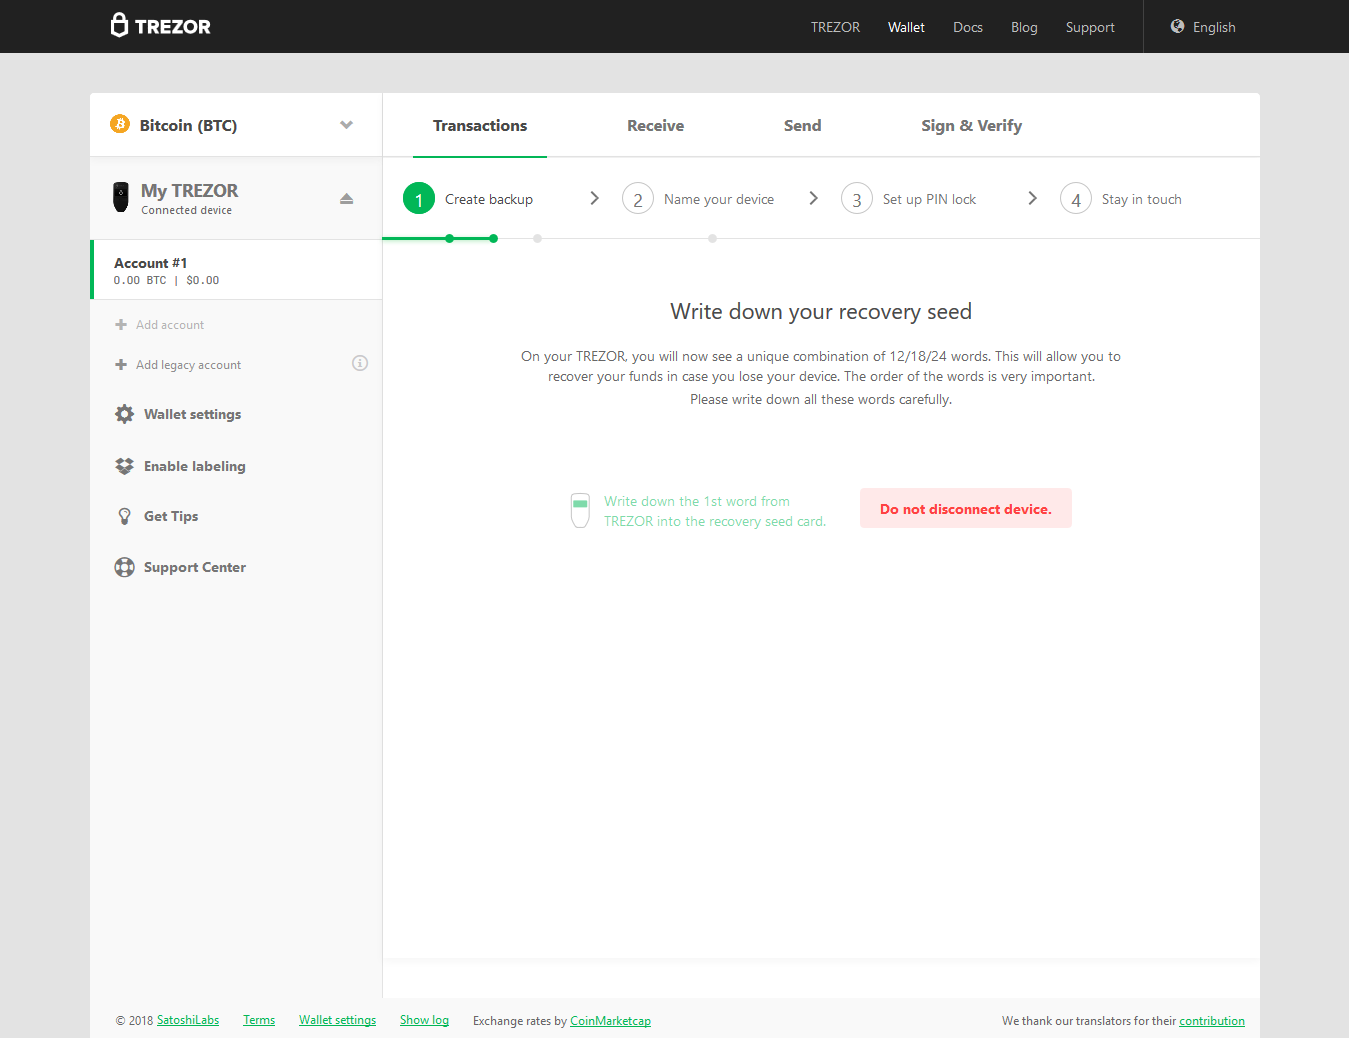
-
Note down the words in same order in the recovery sheet provided with the device. To move to the next word, press right button.
-
Next, the 24 recovery phrase will be repeated on the TREZOR wallet screen. You can confirm them with the words you just noted down.
-
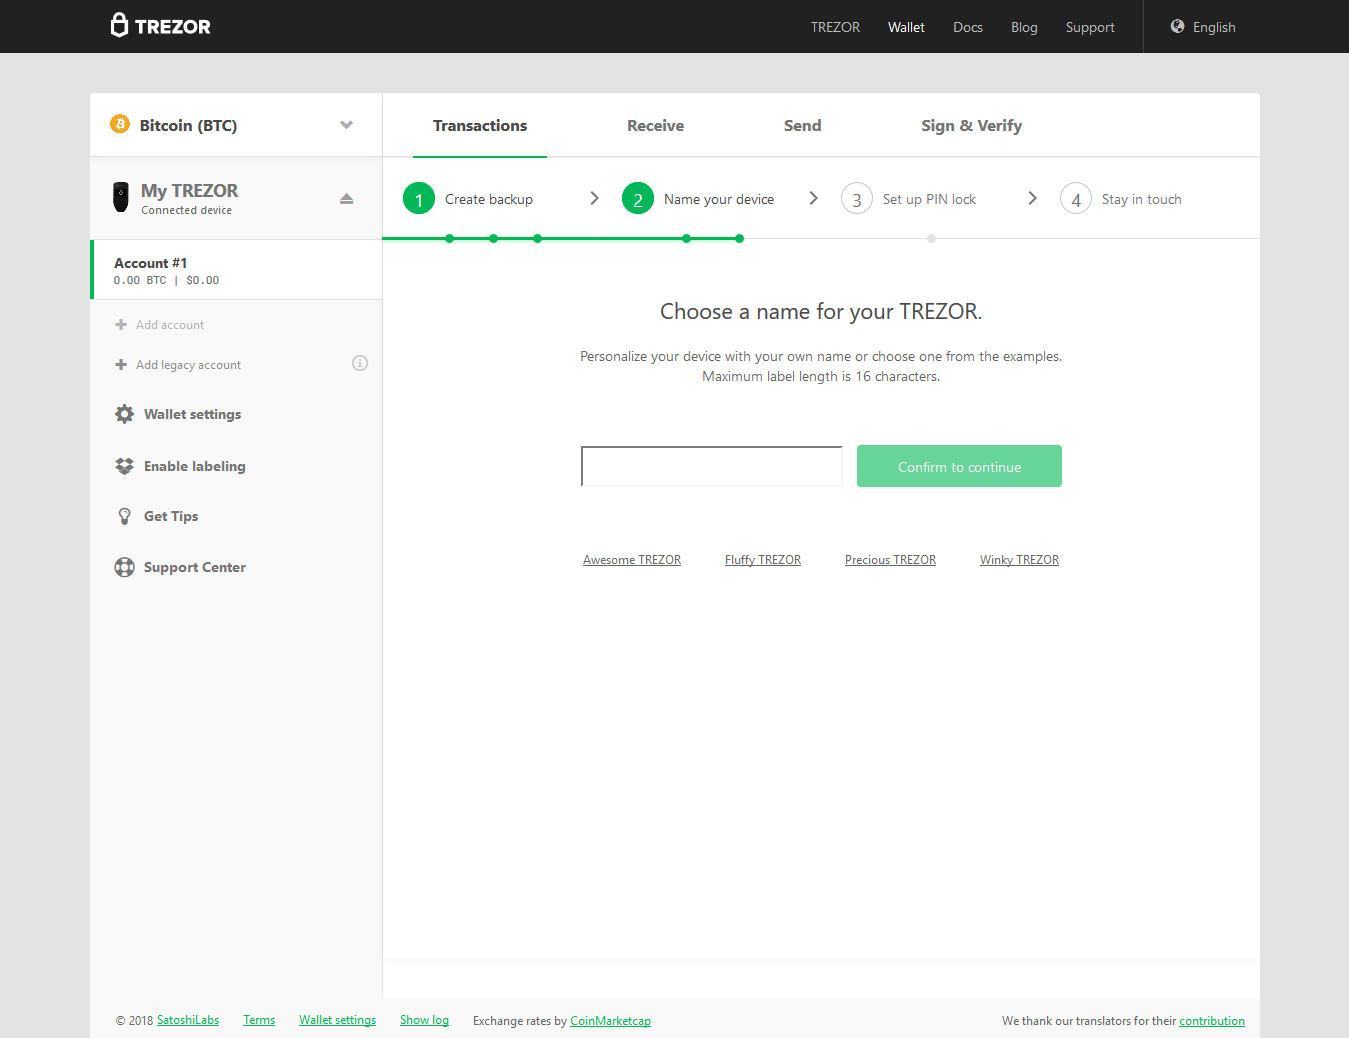
You'll also be prompted to name or label the hardware device. Add relevant label and click on CONTINUE.
-
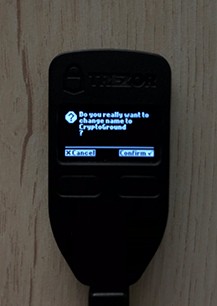
You'll also be asked to confirm the name of the wallet on the device. So press right button to confirm.
-
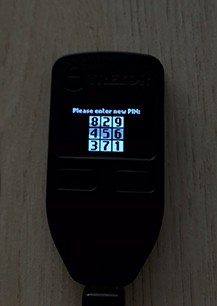
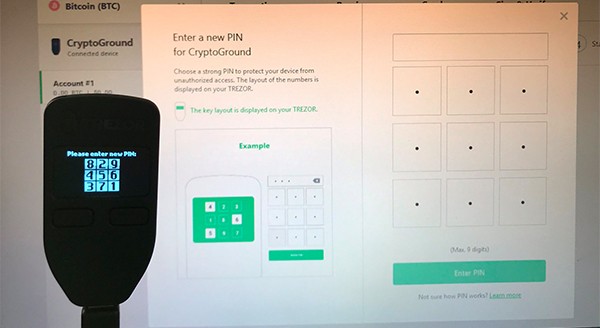
You'll then see a screen to choose a PIN.
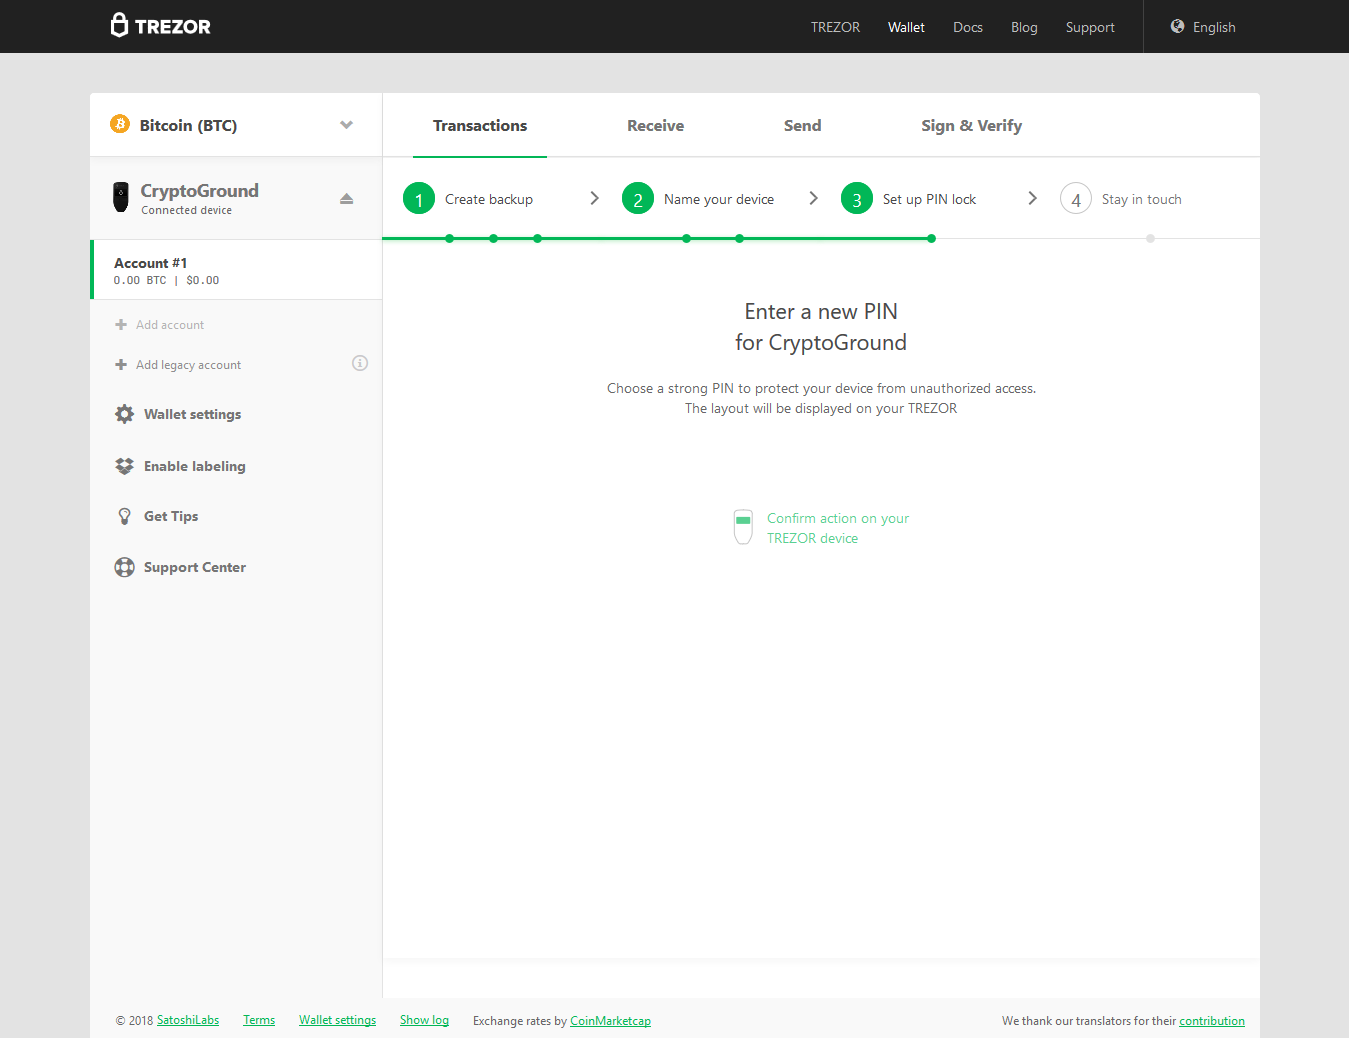
This may seem tricky to beginners. But, trust me its simple. All you have to do is select your desired PIN on your computer system by keeping the order of digits on the device in mind. For instance, if you want to set PIN as 8980 and if '8' is displayed on the device in top-corner box, you click top-corner box in the computer application. TREZOR device always displays digits in random order and you'll have to follow that pattern.
-
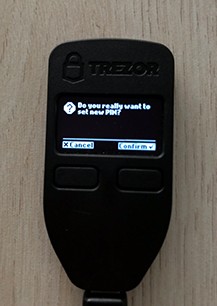
On the next screen, you'll have to confirm the PIN. So re-enter the chosen PIN. However, the digit pattern on the device would be changed now, so be careful as you select the square-boxes.
Send/Receive funds in Trezor
Receive Ethereum in Trezor Wallet
Trezor has its browser UI to make crypto transactions which can be accessed at trezor.io/start. You can access individual crptocurrency wallet from there. However, for ethereum, Trezor has partnered with MyEtherWallet (MEW) to transact and maintain balance. So in this section, we will see how to transfer Ethereum that is in your MEW to trezor's MEW wallet address. Here are some of the prerequisites before we begin though:
-
Trezor Wallet (quite obvious)
-
Ether in MEW that can be transferred to Trezor
How to Access Ethereum Address of Trezor Wallet?
Now, to transfer ether to the Trezor wallet, we also need Trezor Ethereum Wallet Address. To get that, consider and follow the below steps:
-
Connect Trezor Wallet to the computer system via USB cable
-
Open trezor.io/start and select your device.
-
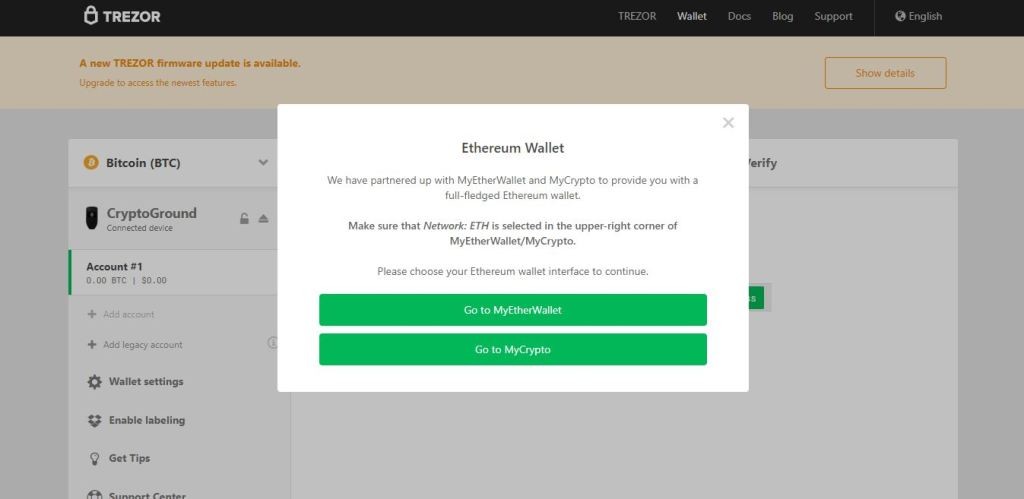
Click on Bitcoin (BTC) to open the crypto dropdown and select Ethereum.
-
You'll be prompted to use either MyEtherWallet or MyCrypto. Select MyEtherWallet.
-
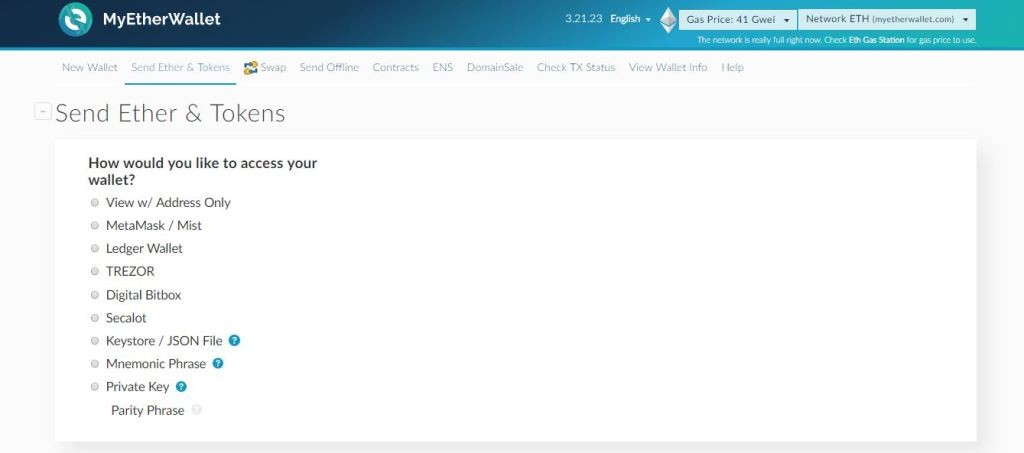
It will redirect you to MyEtherWallet website. Click on Send Ether & Tokens.
-
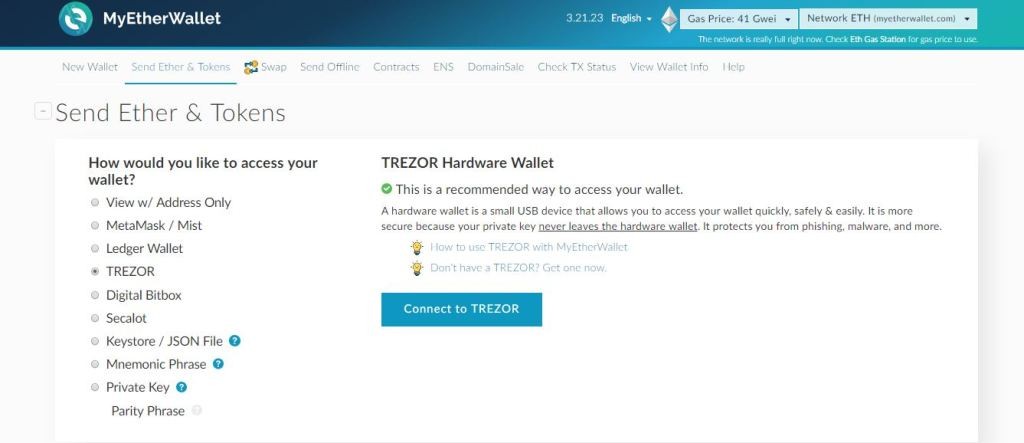
You'll see a bunch of options, select TREZOR. It will ask to connect the device. We've already done that. So go ahead and Click Connect to TREZOR.
-
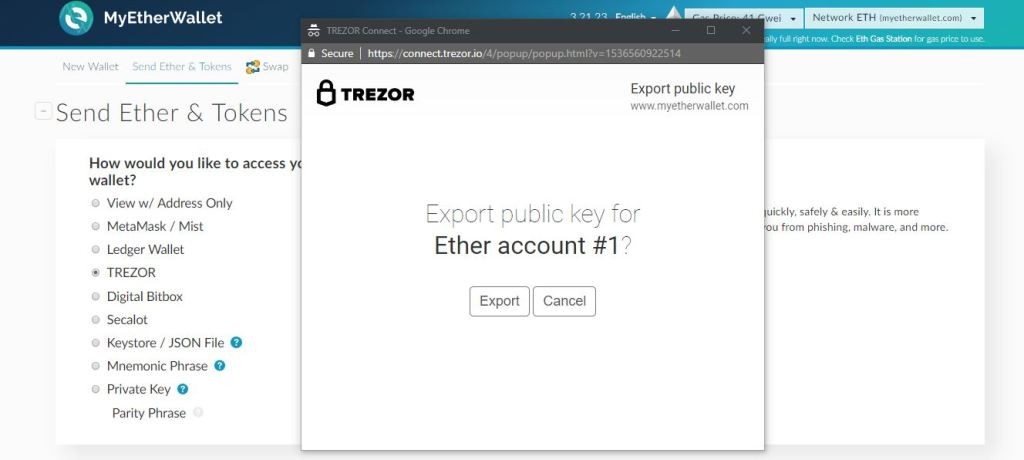
After the initialization process, export window will prompt up. Click on Export.
-
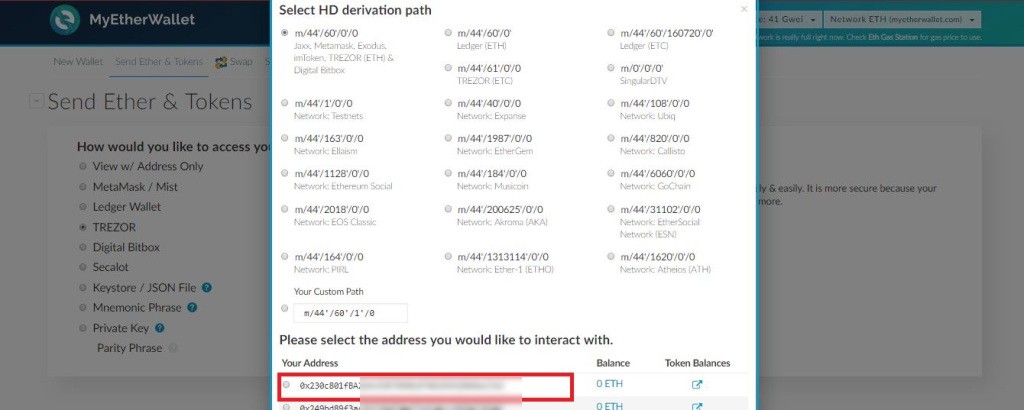
And you can finally see the derivation path and Ether Addresses. Select the first Ether address and click on Unlock your Wallet.
-
You can finally see the Ether address of Trezor wallet on the right sidebar. Copy that.
How to Receive Ethereum in Trezor Wallet?
Now, to send Ether from your regular MEW to Trezor wallet, open MyEtherWallet website from a different browser (preferably).
-
Goto Send Ether Tokens. Select the relevant option to access your regular crypto wallet. I'll go with Private Key for the sake of this tutorial.
-
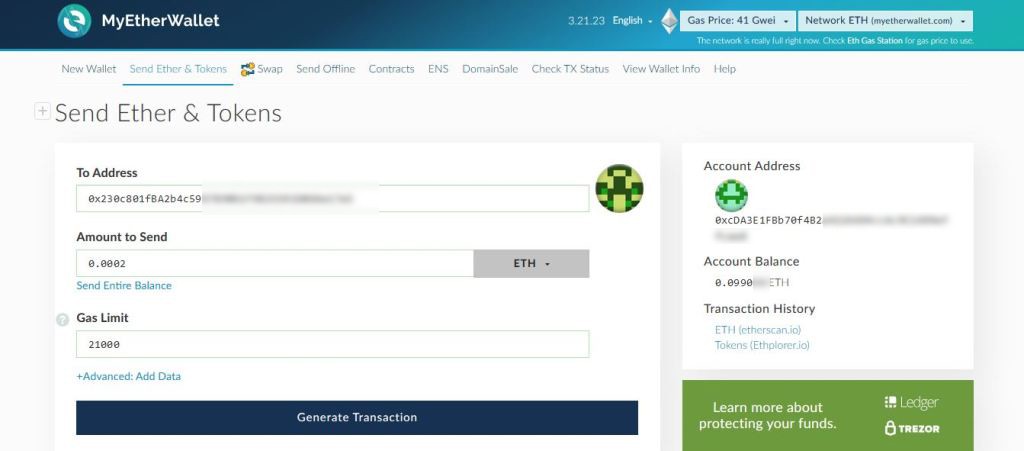
In the next screen, you'll be asked to fill in the recipient's address, ether amount and gas limit. Paste the address we had copied earlier and fill the other fields. Click Generate Transaction.
-
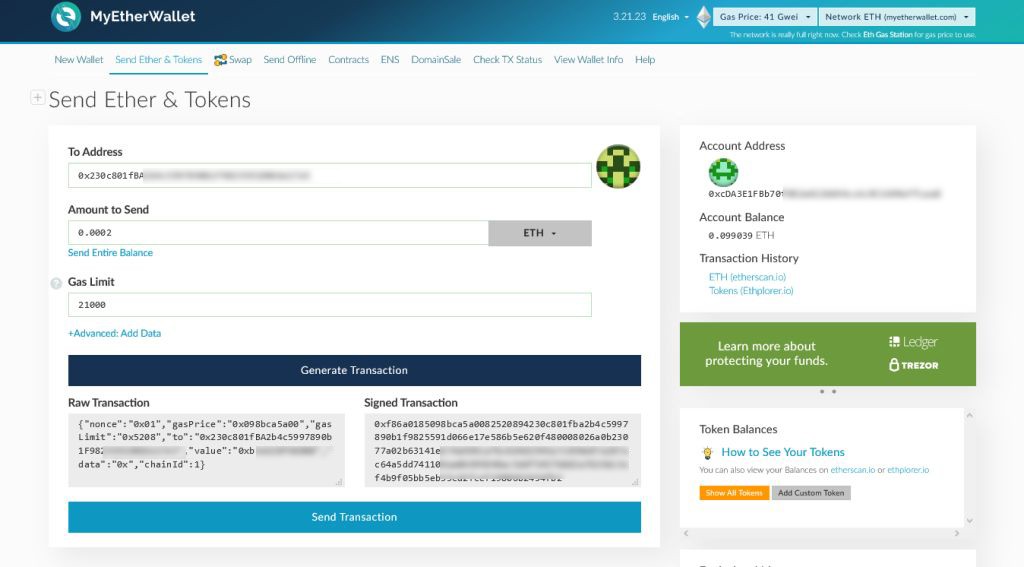
As transaction is generated, it will show you both raw and signed transactions. Click on Send Transaction.
-
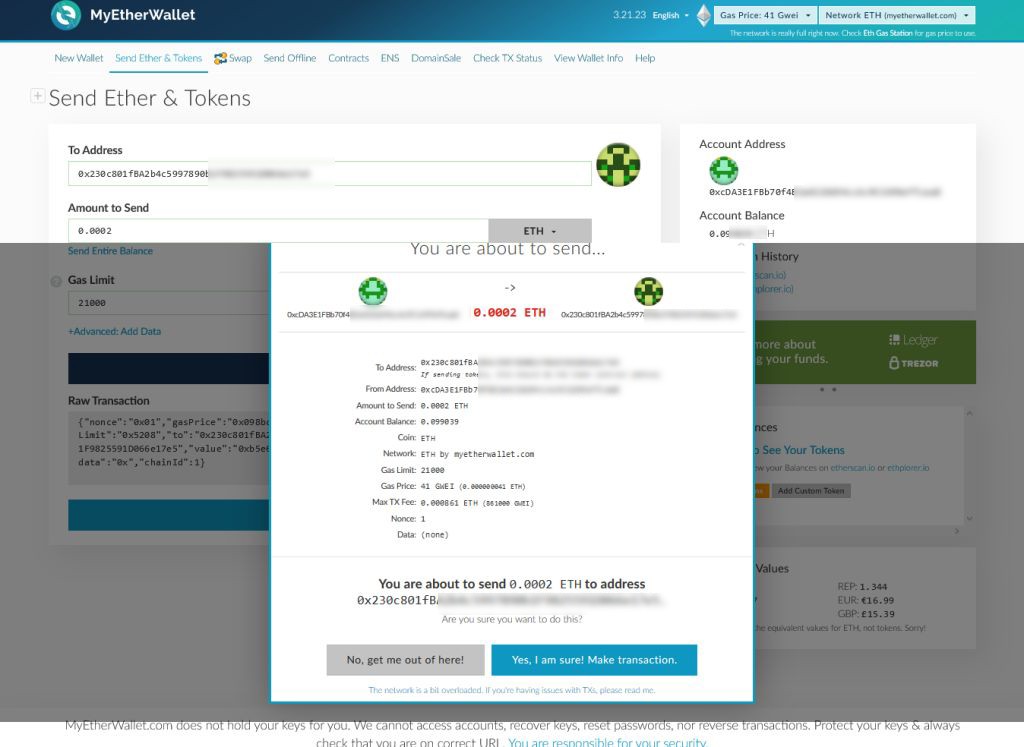
You'll see a confirmation pop-up screen. Verify the details and click on Yes, I am sure! Make transaction.
-
A footer message will come up confirming the transaction initiation. In a matter of sometime, you'll see the transaction reflect in your MEW trezor wallet.

Trezor Wallet FAQs
-
Is it safe to buy a used TREZOR Wallet?
NO. As discussed earlier, always purchase the device from either official site or Amazon. Never from a local vendor of eBay as there have been instances of scams in the past.
-
Does Trezor Wallet support Ripple?
As of now, it doesn’t support Ripple. You can check the complete list of supported coins here.
-
What happens if you remove your TREZOR/shut your laptop during a pending transaction from Coinbase?
Since trezor only stores private keys and maps them with the transactions on a blockchain, you can unplug the device given that you have already provided correct wallet address.
-
Which is the cheapest way to buy Trezor wallet in India?
You can look for deals on Amazon or purchase from etherbit in India if you don't want to buy from the official website.
Pros and Cons of Trezor
Compatible with existing wallets like MyCelium, Electrum, etc
Sync transaction information with your Dropbox account
Supports multiple hidden accounts
Customizable splash screen logo
Multi-cryptocurrency support
Highly Secure
Built-in screen for 2FA
Integrates with various apps and extensions
Open-source
Good customer service
A little complicated to setup
Lack of direct support for ERC 20 Tokens
Feels low-quality
Little expensive
Conclusion: Is Trezor Wallet Worth It?
Trezor hardware wallet has been around for the most prolonged period and has been maintaining its legacy commendably. It has been adapting the changes of crypto world smoothly has much better software wallet as compared to its competitors. It also allows syncing the transactions with user's DropBox account. Moreover, there's a facility to create and password-protect n number of hidden accounts.
It regularly updates the list of supported coins, and with the inclusion of ERC-20 tokens, the life of traders has become easier to protect their assets.
Trezor has a simple design and workflow which make it attractive for beginners as well. Thus, Trezor wallet is definitely worth every penny!
Click here to buy Trezor One