


Introduction
Launched in 2015, KeepKey is an HD wallet. The cold storage device is among some of the top hardware wallets. The best part about hardware wallets is that the funds are always safe even if the device is stolen or lost. This is because wallet device generates private keys offline and maps them with the actual blockchain transaction. Thus, nobody can access funds unless the person has recovery seed (which we will discuss in a moment).
Although it is not as famous as its peers - Ledger and Trezor, KeepKey can be the right wallet for you if you are looking for a good-looking device with a large screen display. It is also said to use hybrid technologies to provide top-notch security to store cryptocurrencies.

KeepKey- The Company
KeepKey is one of the prominent companies in the market which provides hardware wallets for cryptocurrencies. It imbibes high-security measures to protect its wallets. The company also believes in transparency which is evident from their open-source firmware so as to let community developers review and report any loopholes.
In early 2017, a well-known cryptocurrency exchange - Shapeshift acquired KeepKey, and since then the growth has increased quite well. One of the unique features of KeepKey, which is direct trading capabilities from the wallet, is the result of this acquisition only.

Device Appearance
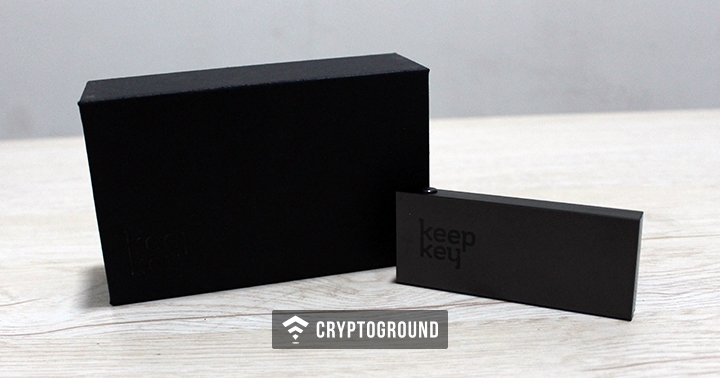
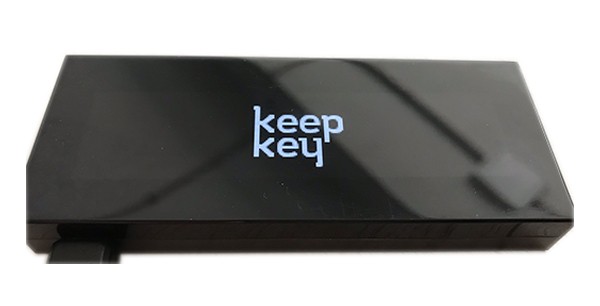
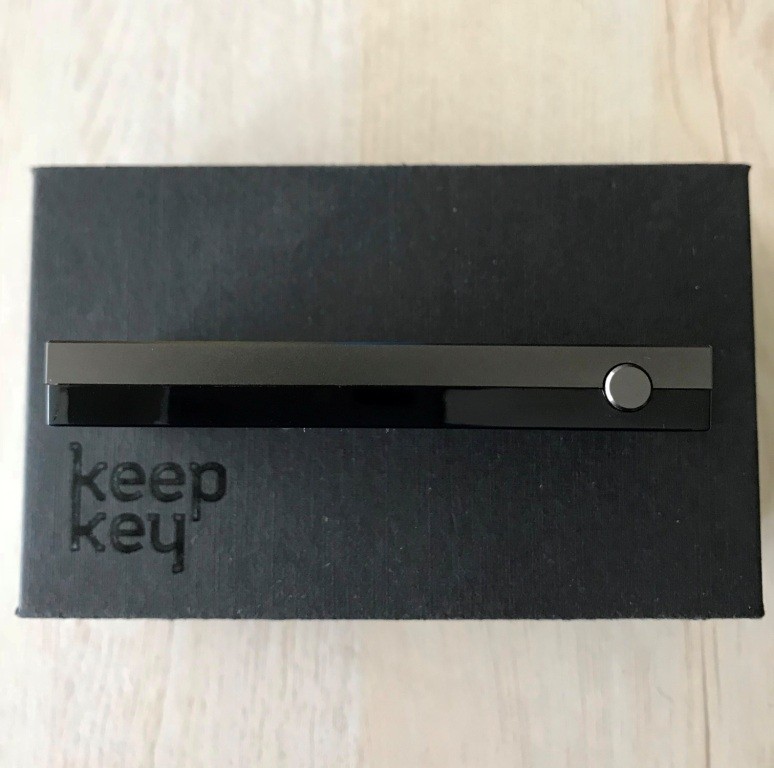
The wallet has a sturdy look and premium feel. The transaction details are easily readable with its large OLED display screen as opposed to its siblings (Ledger and Trezor). The device also has a button to complete the setup proceedings and confirm transactions. It has a USB port for connection. Overall, the device looks like an external hardware drive.
Unbox
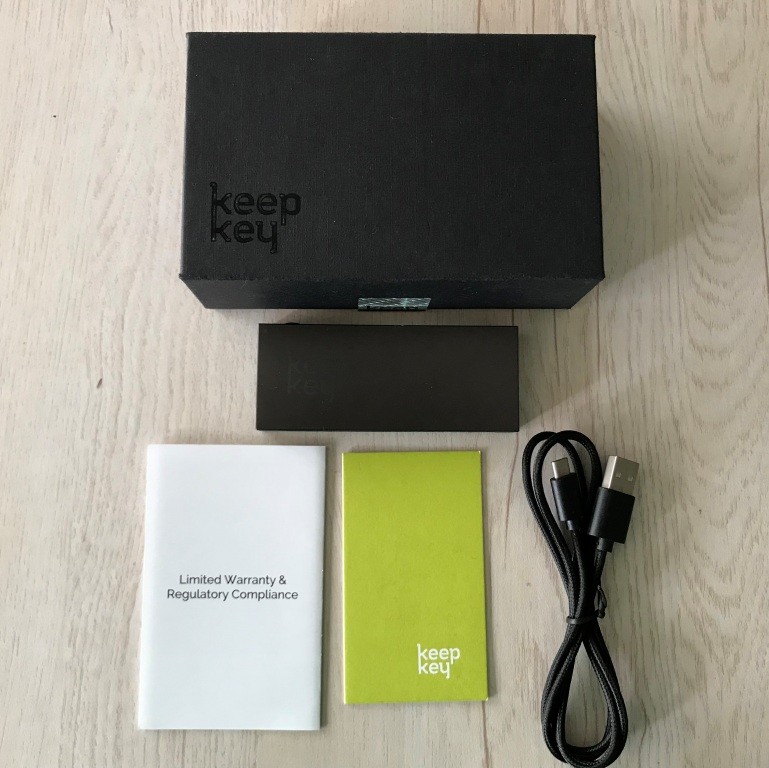
What's in the Box?
-
Keepkey device
-
USB Cable
-
Recovery Sheet
-
Leather Pouch to store recovery sheet (Not shipped anymore)
-
Instruction Card
KeepKey Device Compatibility
KeepKey is compatible with the following:
-
OS: Windows, Mac, and Linux via Google Chrome
-
Software Wallets: Mycelium and Electrum
Why is KeepKey Wallet Secure?
Tamper-Proof Seal
The device box is sealed with a tamper-proof tape. This seal ensures that the package isn't tampered as it arrives.

Physical Button
KeepKey device has one physical button to confirm transactions. To verify the transaction, you have to long press the button. It works as a 2FA so that you don't make a mistake while performing a payment. This physical button also ensures the safety of the funds from intruders. Anyone who gets access to your private seeds or computer cannot really make a trade without having access to the physical device.
PIN Code
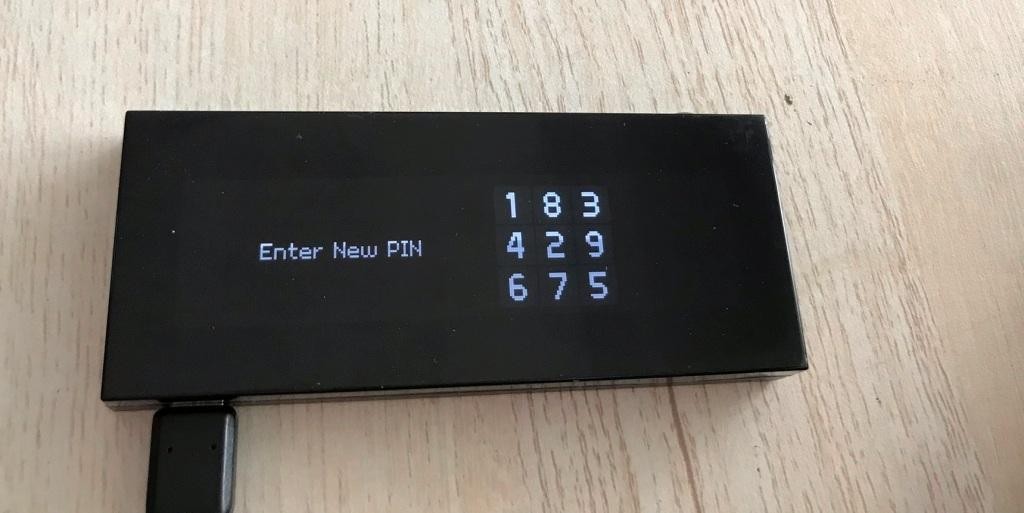
As a part of Keepkey wallet setup, you have to set a PIN of your choice. Your KeepKey PIN can be up to 9 digits; the company recommends to have at least 6 digits long PIN. This is a security measure which works as a password for your wallet and is to be inputted every time to confirm the transaction. Since it works as a password, people cannot access the wallet or check balance even when they have your wallet right in their hand.
Also, as an additional security feature, Keepkey randomizes the digits on the device, so every time the digits change its places. This way you can access the wallet on your computer system even in the presence of somebody.
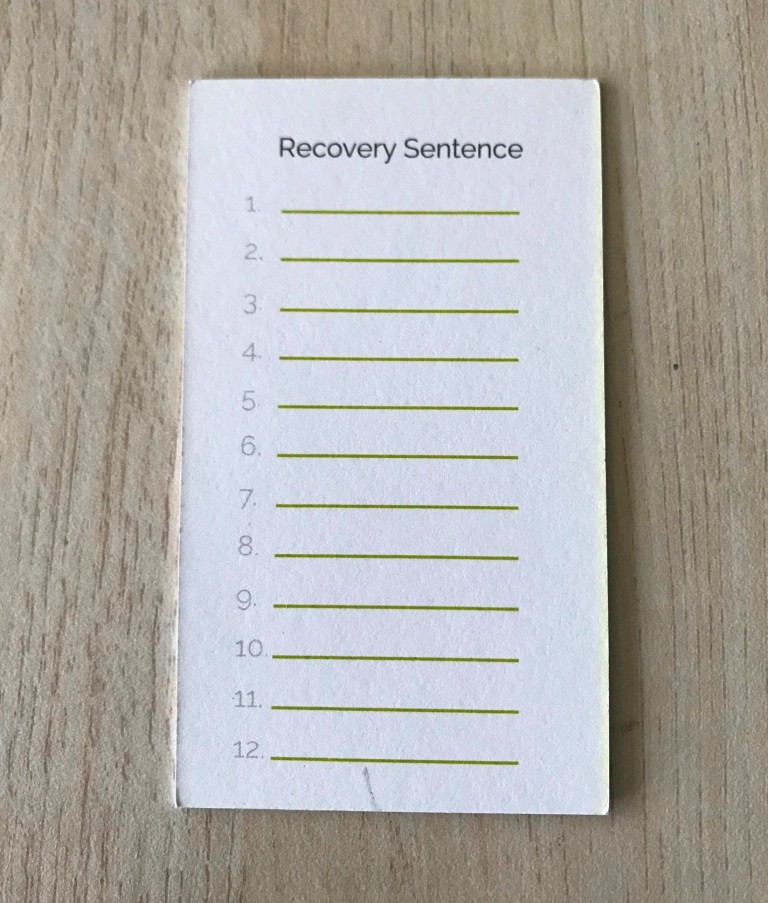
Recovery Sentence
Like other hardware wallets, KeepKey lets you access your private keys with the aid of 12-word recovery sentence. This sentence is generated randomly by your wallet and computer system that you use for set up. The wallet comes with a hard-bound sheet to take note of this word sentence. And it is recommended to store this recovery phrase offline so as to keep away from hackers. This phrase is used while recovering the wallet or funds at a later stage. While 12 word-phrase is the default for the KeepKey wallet, you can also choose the length of 18 or 24 words.
Passphrase
Passphrase adds an extra layer of security. It is basically an additional phrase with recovery seed that is not generated by the wallet system. The user can add a word of his choice. But with security comes consequences - the wallet cannot be recovered in future without this phrase. Thus, it is the responsibility of the user to remember it.
Supported Currencies
As mentioned of their website, KeepKey currently supports Bitcoin, Bitcoin Cash, Ethereum, Litecoin, Dash, Dogecoin, Testnet, Namecoin and ERC-20 tokens like Aragon, Augur, Basic Attention Token, Bancor, Civic, District0x, DigixDAO, Edgeless , FunFair, FunFair, Golem, Gnosis, iExec, OmiseGo, SALT, Storj, SingularDTV,Status, SwarmCity, ICONOMI, Melon, Wings, Numeraire, Metal, TenX, Qtum, 0x, FirstBlood, Ripio Credit Network, WeTrust and Matchpool.
KeepKey's Price
The KeepKey hardware wallet was initially sold for $239 which was over 7 times more than Ledger's and 2 times more than Trezor's devices. The company soon realized how such a big price difference was kicking them out of the competition. They later dropped wallet’s price to $129, thus making it par with the market rates.
Where Can I Buy Keepkey Hardware Wallet?
When it comes to security, it's always a good practice to purchase Keepkey (or any other) hardware wallet from the official website; however, Amazon is also a safe option. But NEVER buy the wallet device from resellers or eBay as many frauds have been reported earlier.
KeepKey Wallet Installation
Let us now start with configuring the KeepKey device. Follow the steps as described below:
-
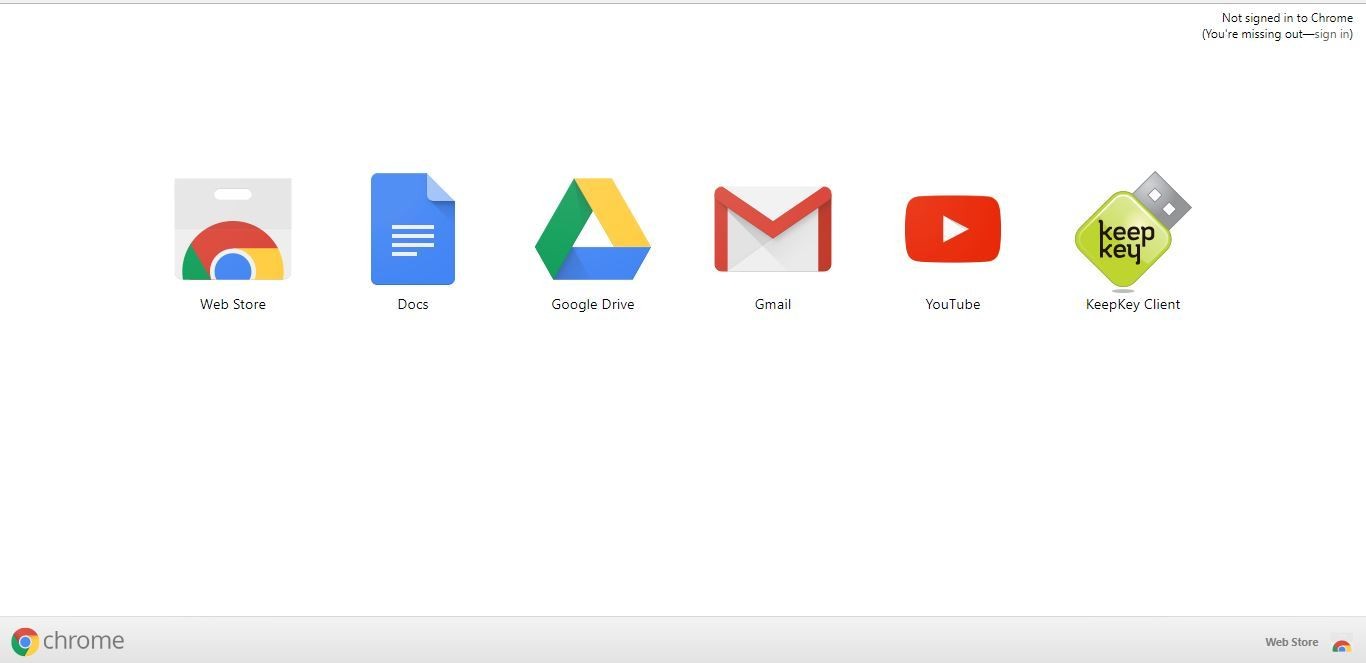
For faster configuration, let's install KeepKey Client (the Chrome Extension) in advance.
-
Now connect the device with USB Cable to your computer system. You'll see the logo on the device screen which means that it is now connected.
-
Open KeepKey Client in the Chrome browser. You can also directly visit chrome://apps from Chrome.
Now all the instruction will be displayed both on your device and computer screens.
-
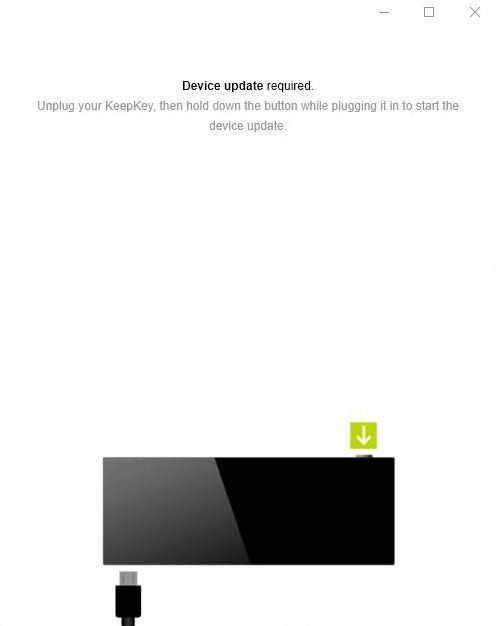
You may be prompted to update the device firmware. Click on Update Firmware on your computer screen. It will then ask you if you want to configure a new device where old keys will be erased or you intend to recover the old device. In our case, we'll go with the first option. So long press the device button. The firmware will then begin to update.
-
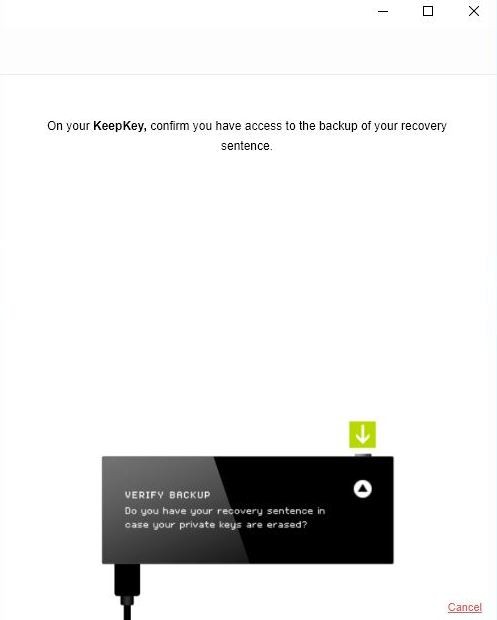
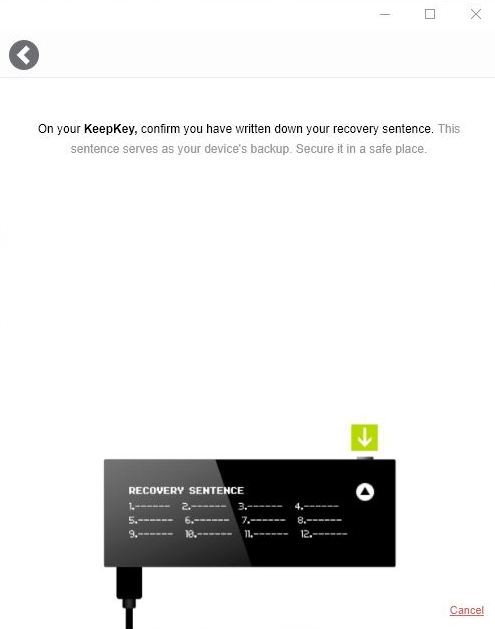
The next screen will prompt the verify screen that we have a recovery sentence. Since we're using the device for the first time, It doesn't really matter. So press the device button.
-
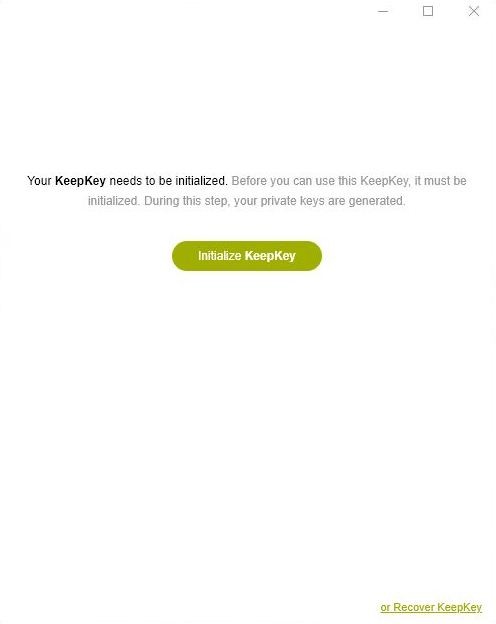
Once done, click on "Initialize KeeyKey" button to start the configuration process.
-
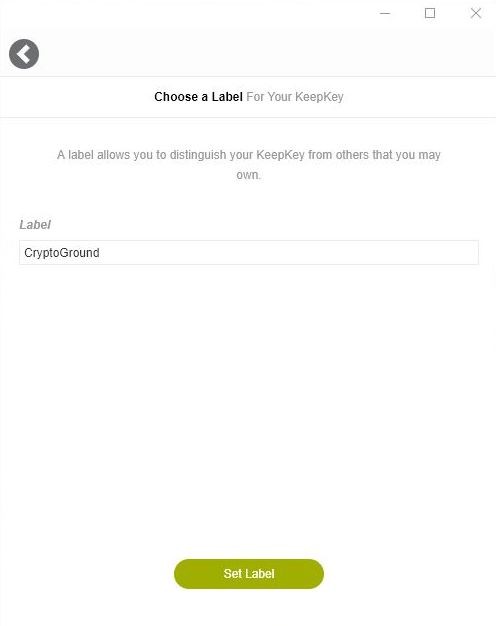
The next screen will ask you to set a label - basically a name for your device. Click Set Label after inputting the name.
-
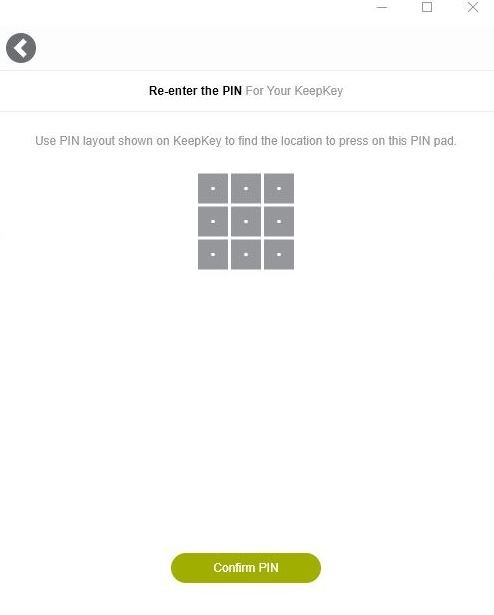
You'll then be prompted to select a desired PIN to access the device in future. It is important to remember this PIN so choose it wisely. Like TREZOR, the digits are to be inputted in the pattern that the hardware device displays. This adds an extra layer of security from key loggers. So be careful and select your desired PIN.

-
The next screen involves confirming the PIN. Re-enter the PIN as done in the previous step.
-
And you'll finally be asked to note down the recovery passphrase. You can write them on the recovery sheet provided with the device in the box. Please make sure to write them in the same order as displayed on the hardware wallet screen. Press the button on the device to display next word-phrase.
Your KeepKey wallet is now all set to store cryptocurrencies. This was the easiest wallet to setup as compared to Ledger Nano S and Trezor.
-
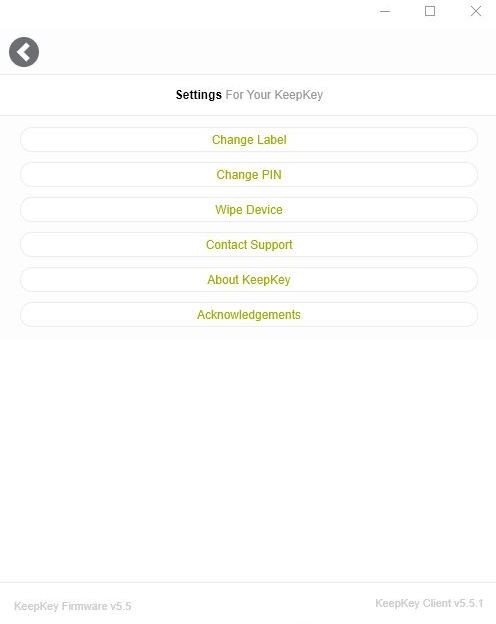
Incase you want to change the current Label or PIN, you can access Settings by clicking on the gear icon in KeepKey Client.
-
You can also create a new account to organize the balances on the device by clicking the bottom-right corner Add Account link.
Send/Receive Cryptocurrency in Keepkey Wallet
To send or receive crypto assets in the Keepkey Hardware wallet, the first thing we need is the account address of Keepkey wallet. So let us first go ahead and see how to create a new account and how to acquire account address in Keepkey wallet.
Create Account in Keepkey Wallet
A Legacy Bitcoin Account is added by default during the configuration process in Keepkey wallet. But If you want to store other crypto assets, you must first create an account for that specific altcoin. All the account does is create a new crypto address to store private keys and map the blockchain transactions to it. Let us create the account to store Ethereum.
Before we begin, open the Keepkey client in the chrome browser and connect the hardware device to the computer system. You can then follow the below steps:
-
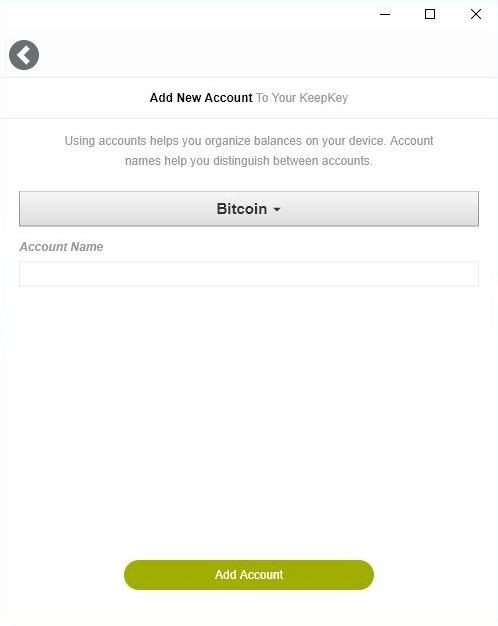
Now, at the bottom right corner, click on Add Account or + (Plus) symbol.
-
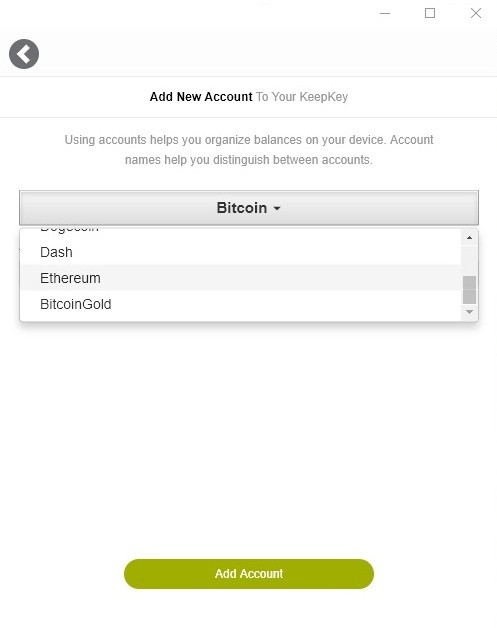
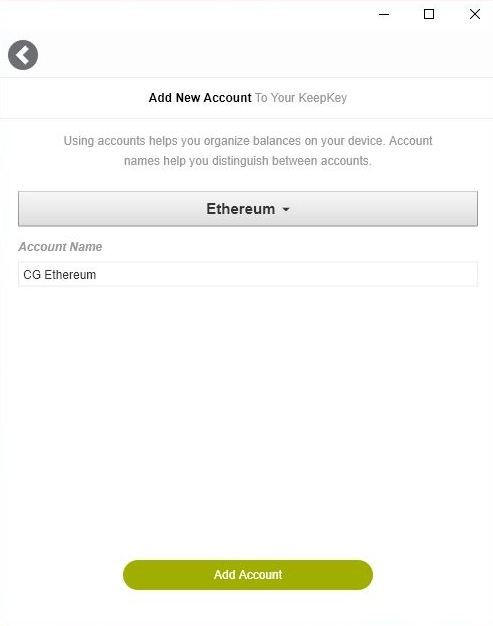
Select the cryptocurrency from the drop-down menu and click Add Account. I'll go with Ethereum.
-
Next, name the account. This is precisely because you can have multiple accounts for the same cryptocurrency. So it's always a good practice to name them accordingly. Once done, click Add Account.
-
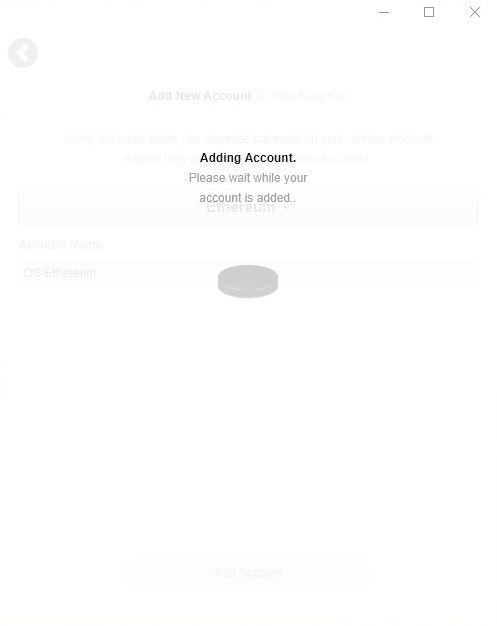
The account creation will be initiated and will be processed in a moment.
-
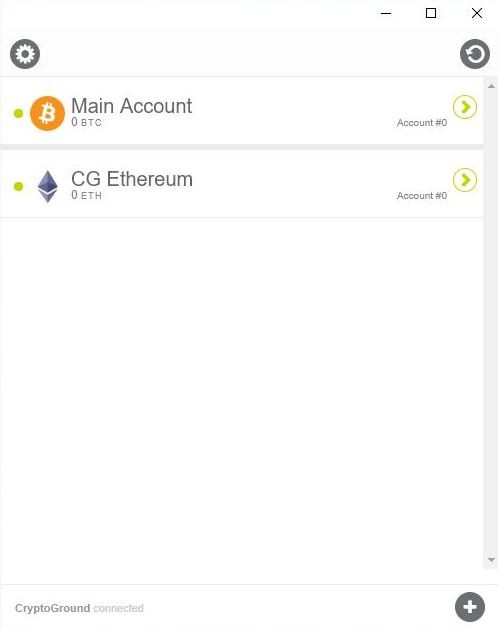
You'll see the list of accounts in your Keepkey wallet once this new account is created.
How to know Keepkey Wallet Address?
After creating an account, we can go ahead and access the wallet address. In the last section, we created Ethereum account, so let us proceed further and obtain its address.
As and when you connect the device to the computer system and open the Keepkey chrome plugin, you'll see the list of available accounts on the wallet.
-
When you click on the account, you would see various options. Since I created Ethereum account in the last section, I'll open that:
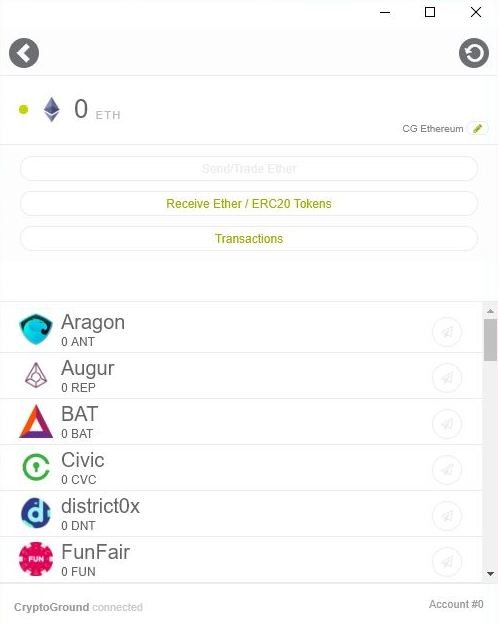
-
Now click on the second button that mentions Receive. In the next screen, you can access the wallet address.
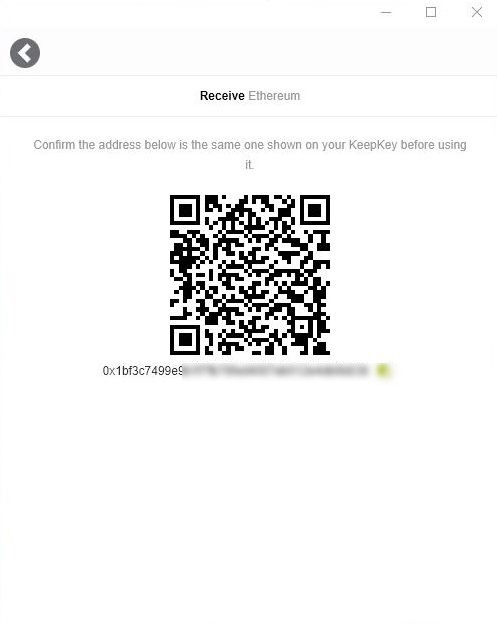
You can copy-paste this address in the recipient address field of crypto exchange or software wallet like MyEtherWallet.
To learn how to transfer cryptocurrencies like Bitcoin and Ethereum from MyEtherWallet to hardware wallets, you can check this section from the Ledger Nano S guide.
Pros and Cons of Keepkey
Attractive looks, large screen
Easy to use
Highly secure
Exchange cryptocurrencies from wallet itself (Thanks to ShapeShift)
Built-in screen for 2FA
Open-source
Fast customer support
Bit overpriced
Lesser coin support especially for ERC 20 Tokens
Less portable
Requires software wallet add-on
KeepKey Wallet FAQs
-
What if I forget my Keepkey Wallet PIN?
If you forget the wallet PIN, you can recover your funds by resetting the device with the help of recovery phrase.
-
How many wallets/private keys can KeepKey wallet store?
Technically, there's no limit on the number of wallets/private keys that the KeepKey can store. You can save as many wallets as you want.
-
Do I need 'x' number of wallet devices to store 'x' number of cryptocurrencies?
Not at all! You can store multiple cryptocurrencies in the same hardware device.
Conclusion - Is KeepKey Wallet worth it?
The KeepKey team has undoubtedly put an extra effort to provide beginner-friendly, well-designed and unique features as compared to other competitors in the market. However, since the company is new, it is yet to gain community support and there are fewer people to vouch for it.
These factors don’t make KeepKey any less worthy. If you are someone who is searching for beautiful looking hardware wallet - KeepKey is your best bet.
Click here to buy Keepkey Wallet from Amazon.